(This post may contain affiliate links, which do not change or affect your price in any way. This simply allows me to collect a small commission when something is purchased through one of the links I provide on my page. Thank you for supporting Sycamore and Slate! Read my full disclosure here.)
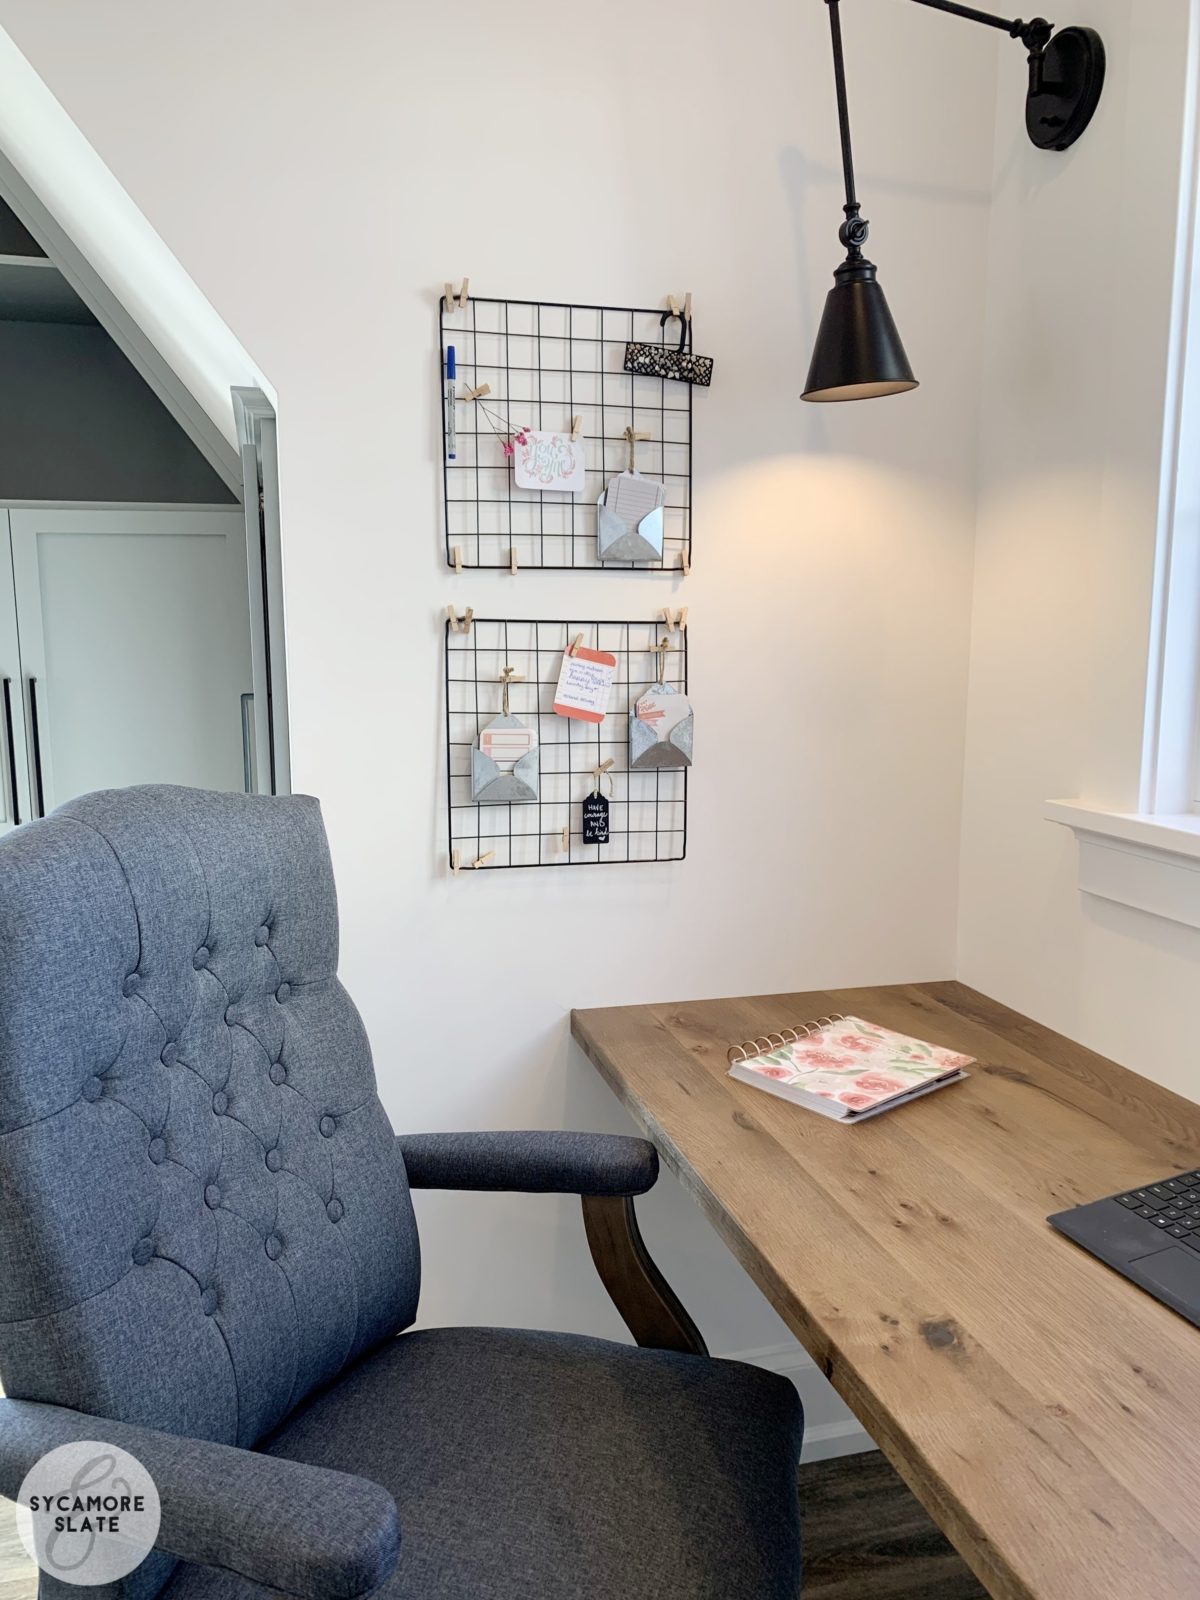
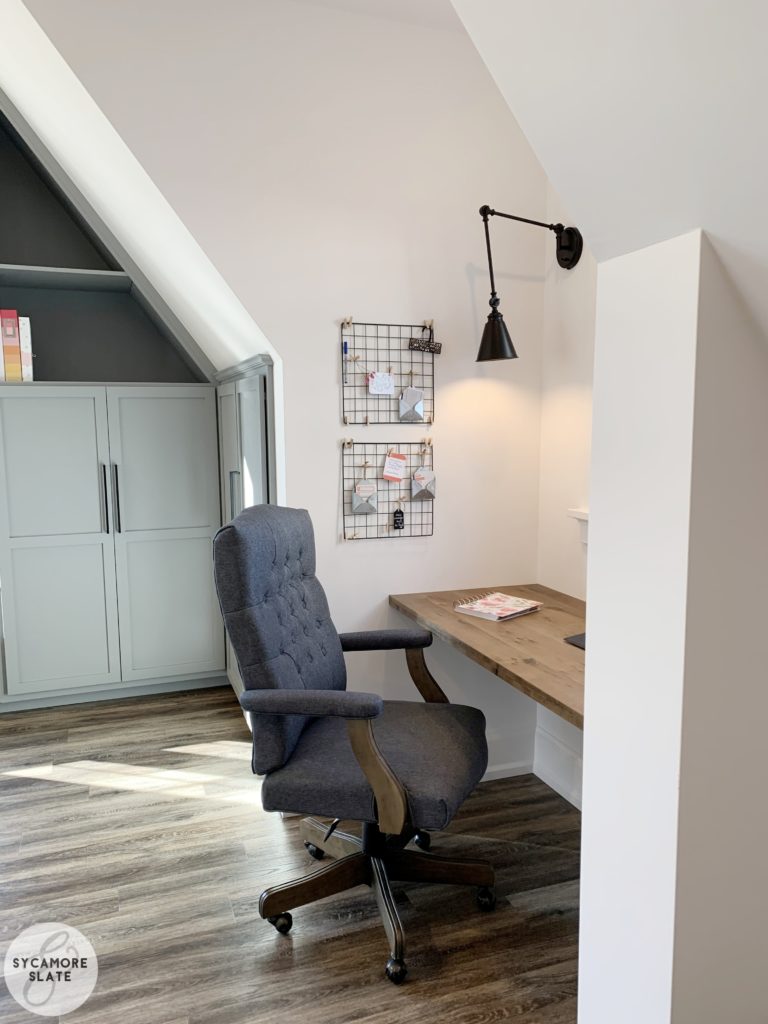
When I was putting together my “mom office” at our new house, I knew I wanted a memo board of some kind that I could hang near my desk. My main goal was to have a place to post reminders for my coming week and anything else special that I wanted to display.
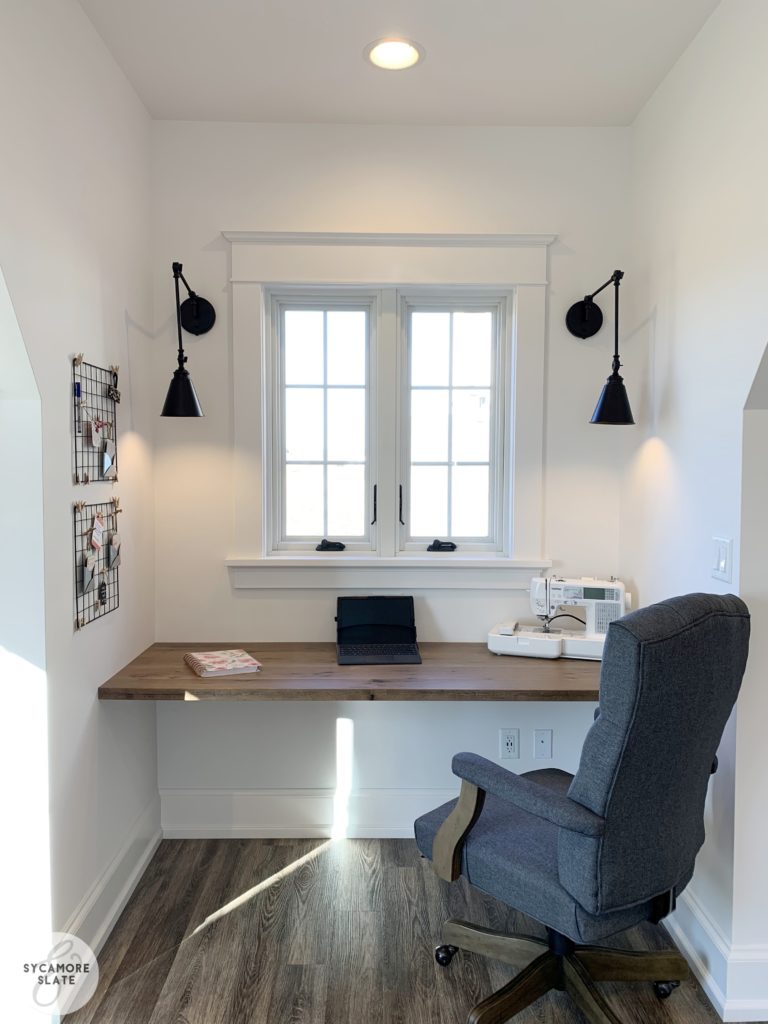
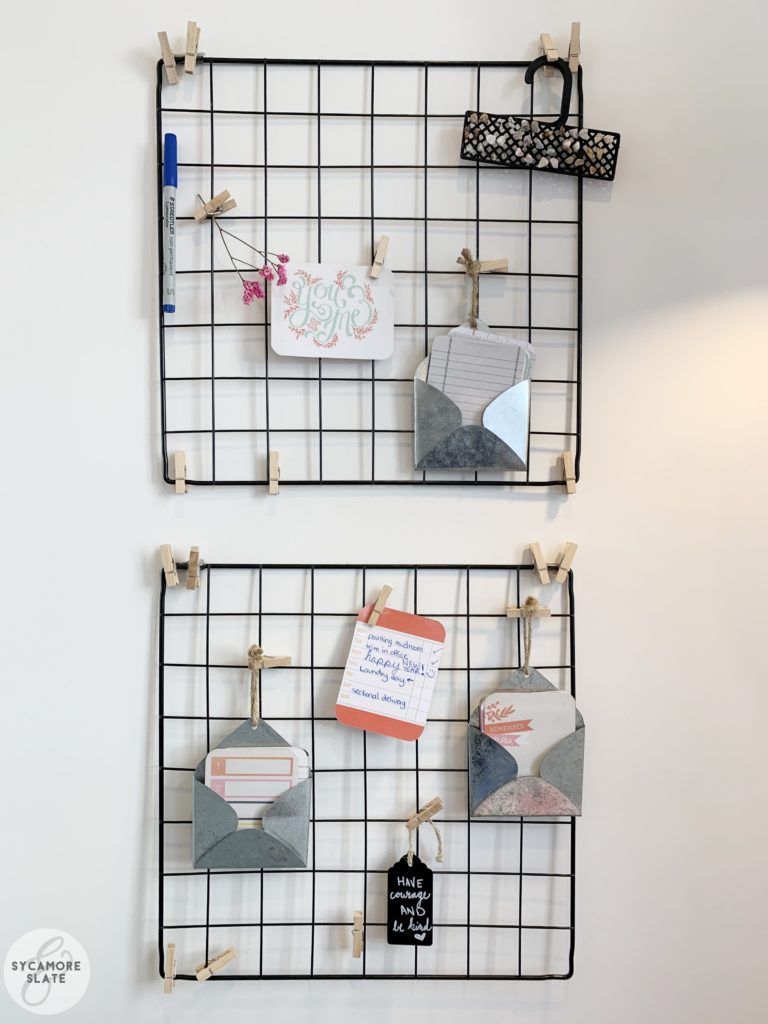
Seeing as this house is brand new and we’ve already been buying a lot of random things lately, I really wanted to try to make something with items I already had on hand. This grid is what I came up with! Granted, I doubt everyone has the same exact things laying around your houses as well, so I’ll give you the product list of everything I used to make these boards happen.
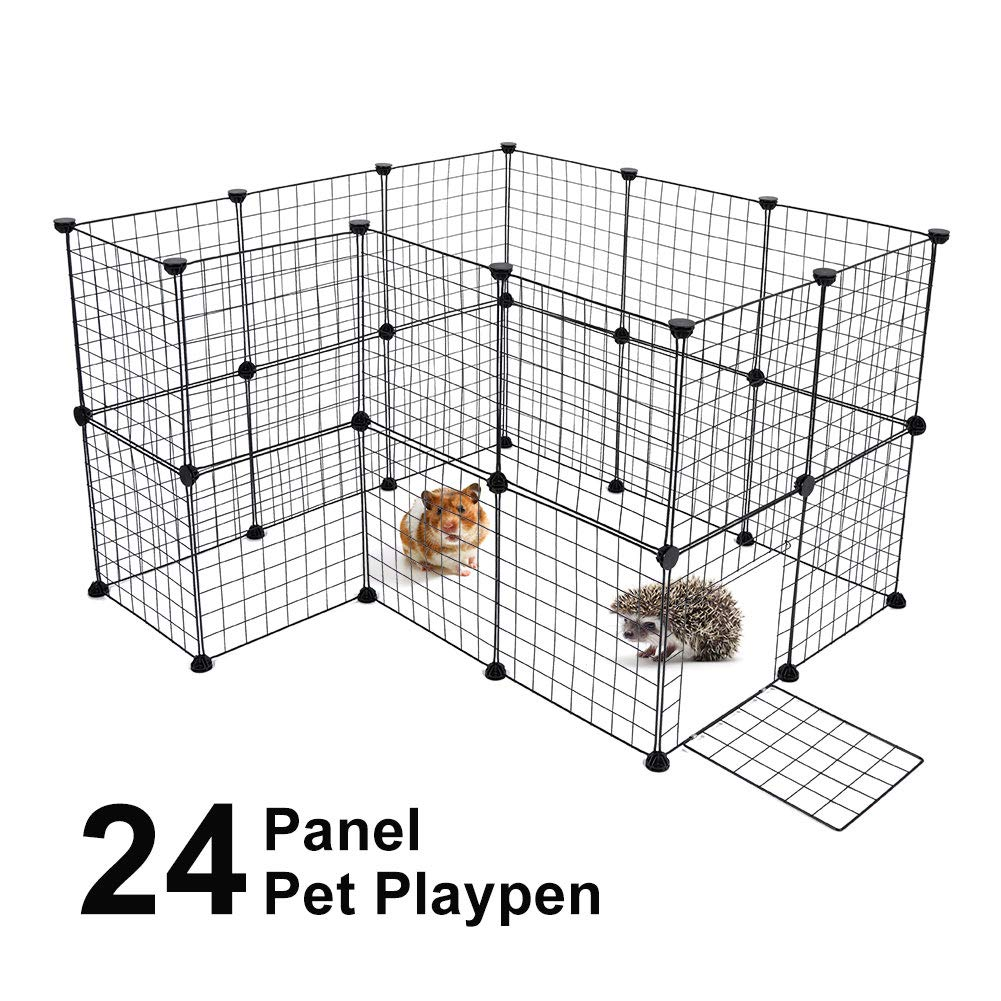
The grid itself was something I’d seen done in the past and is a common option online when searching for memo boards. I really loved the way those grids looked and it turned out that I had something VERY similar already. Several months ago when I was looking for a cat door for our cat’s room, I had found this:
THE BACKSTORY
You guys, I had searched exhaustively for a grid-style door (just like the one that is laying open in the picture above) and this item was the only thing I could come up with. I didn’t need ANY of the other pieces of the playpen. Not even the panel with the door cut-out. I JUST WANTED THAT LITTLE DOOR! ARG!!! (Can you tell that I was a little frustrated with the lack of products on the market for kitty doors??)
Long story short, I decided to go ahead and buy this whole playpen just to get that little door because it was actually going to be cheaper than buying a “real” pet door which wasn’t what I wanted anyway. We had our builder make a custom frame for the grid to slide up and down inside the door to the cat room and lock it in place so we can confine our cat when necessary.
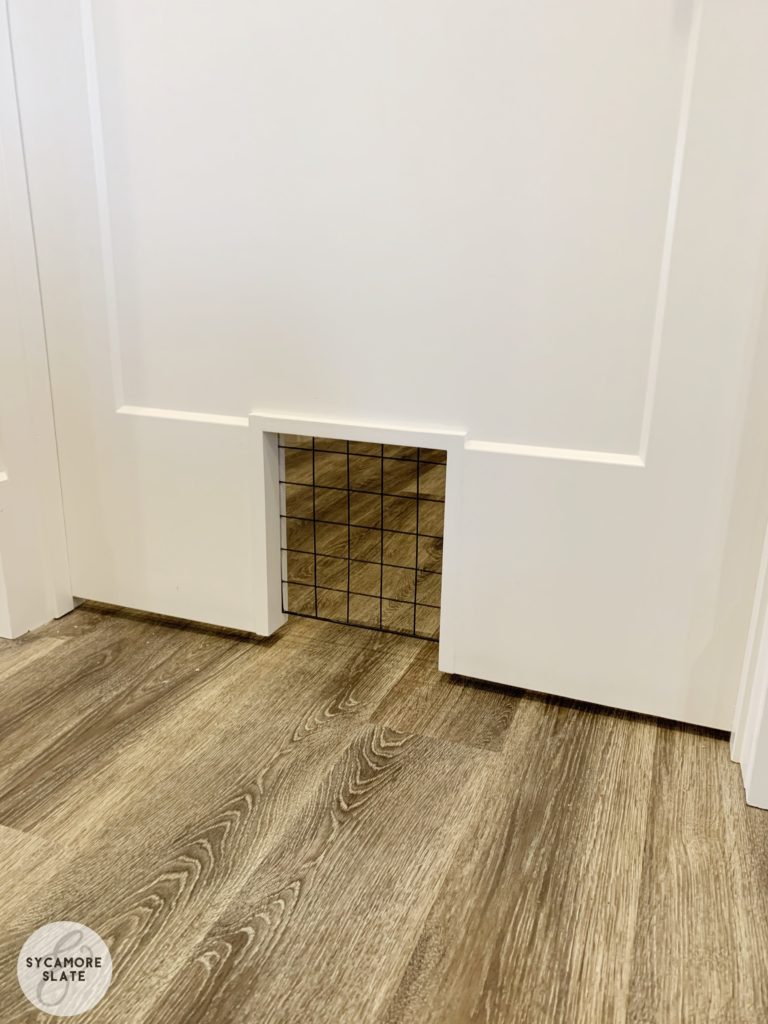
I tucked away the other 24 grid pieces and all the other parts to the playpen because I hoped that I would find some sort of use for them later.
That day has arrived! These grids, which are each 14-inch squares, are great sizes to use as memo boards. Plus you get TWENTY-THREE (there are 24 panels but 1 of them is the pet door) for the price that you would get maybe 4 of almost the exact same thing if you bought an actual “memo board grid” on amazon. If you purchase the same materials I used to make these, you’ll have spent less than $2.50 per each grid! This is a no-brainer!!
RETROFITTING THE GRID PANELS
The first challenge was how to mount these on the wall since that wasn’t their intended purpose and they didn’t come with wall-mounting hardware. What they did come with were plastic connectors to attach them to each other. I could have attached them to the wall by applying some command replacement strips to the backsides of the connectors, but I decided not to do that because I wanted to have more of a seamless look and didn’t want to see the big round connectors.
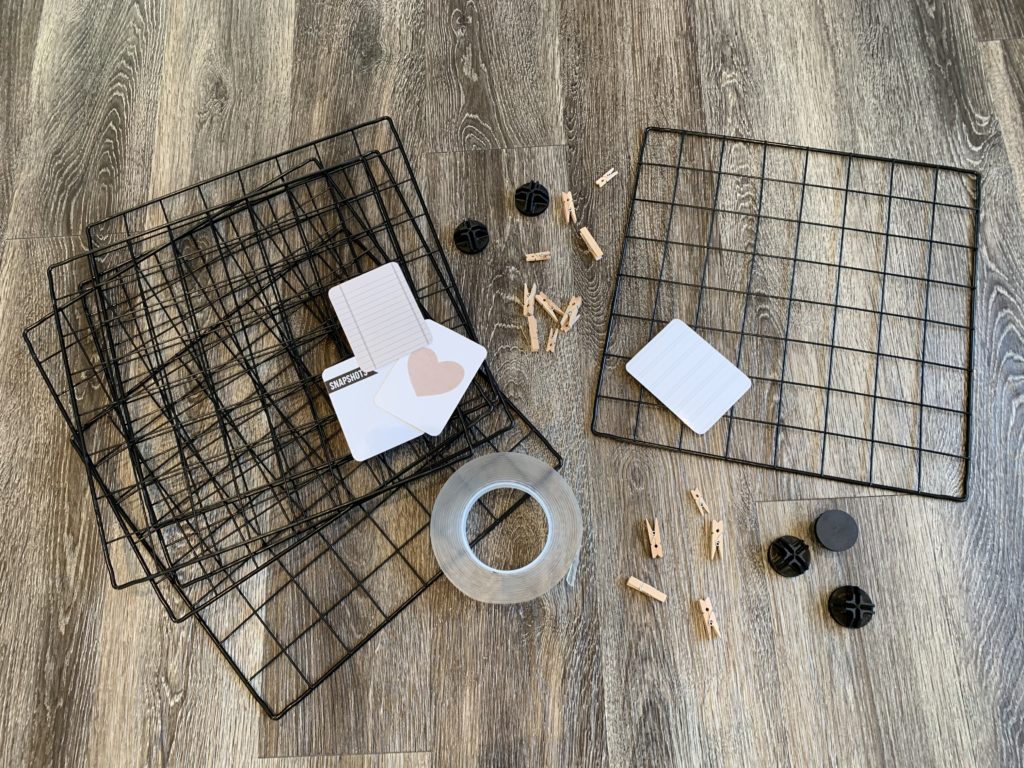
Instead, I tried some of my double-sided mounting tape which I put directly on the grid panels. The tape is damage-free and residue-free so it won’t hurt your walls if you decide to take it off later. My biggest concern was if it would be strong enough to actually hold the memo boards on the wall.
This tape is really really stretchy, so I cut only a small strip (about an inch) and wrapped it around the bars on all four corners of the grid panel to make a nice thick layer of tape. Then I just pressed firmly over the tape for a few seconds to make sure it adhered solidly to the wall.
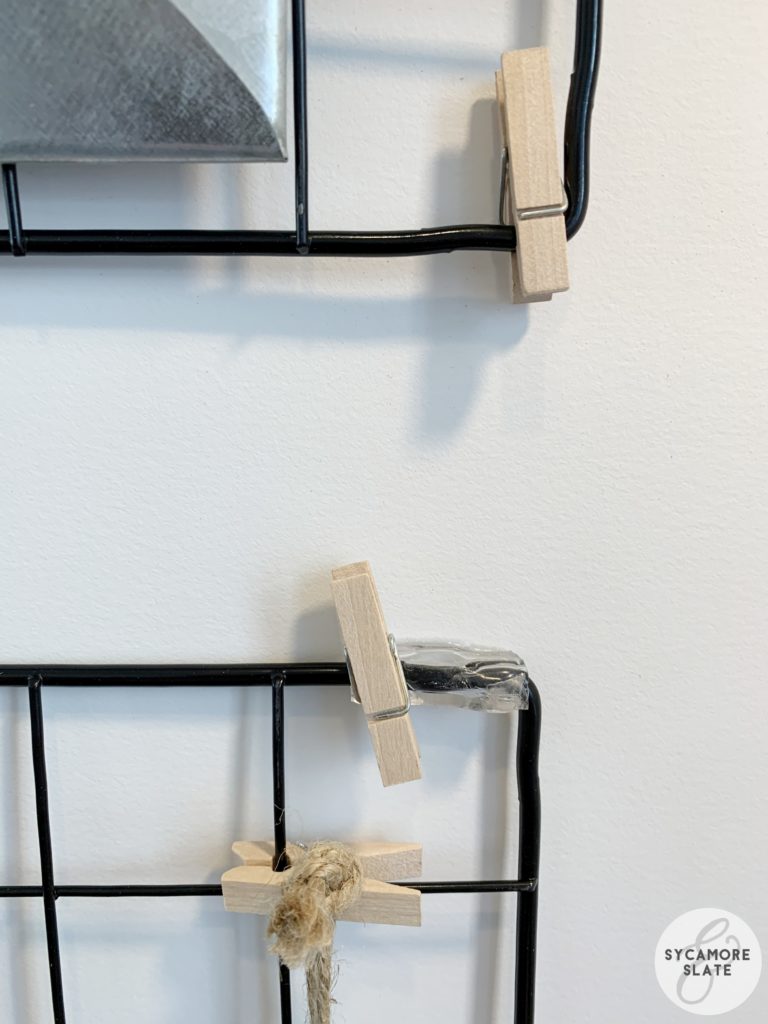
Even though the tape is clear, I could still see it a bit, so I decided to stick some mini clothespins on top of each section of tape just to hide it a little bit more. An added bonus to that is I can hang things from those clips, too!
Another option, if you don’t want to use the tape is to purchase some invisible nail fastener hooks to hang the grids on. These create four small pinholes in the wall rather than one larger screw hole, which makes it easier to patch the paint later.
I filled my memo boards with more mini clothespins for hanging things up. I had some little mini galvanized metal envelopes that I got from Michael’s several years ago for super cheap on clearance. These were the perfect size for holding my little memo cards.
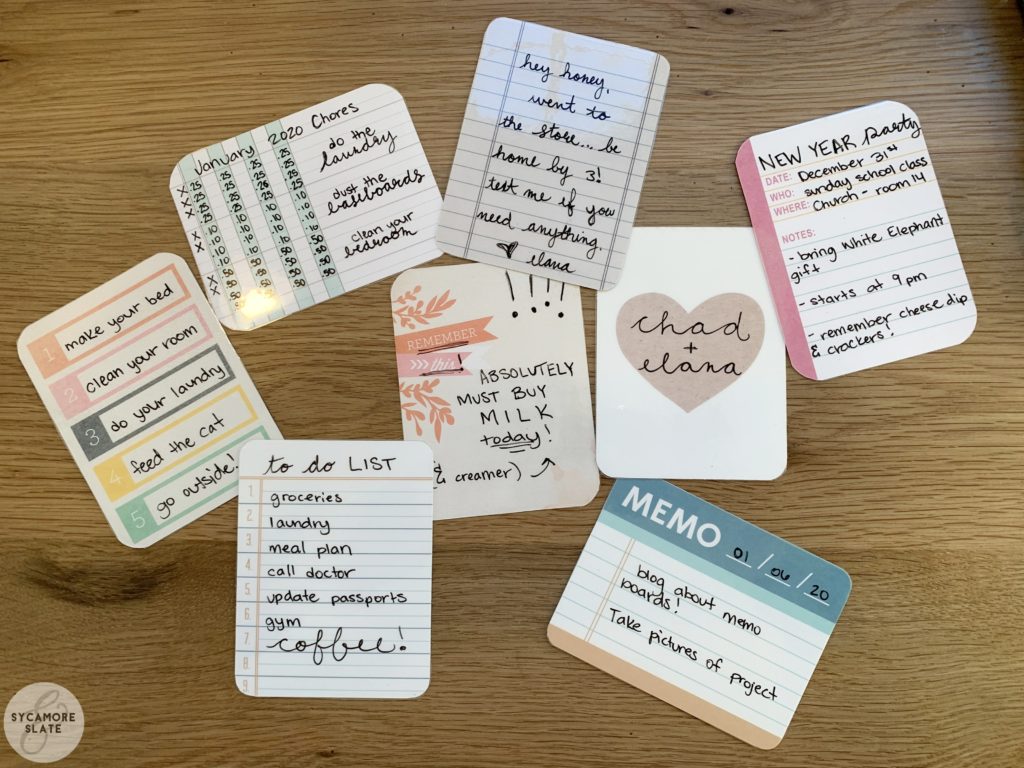
The memo cards are actually Project Life scrapbooking cards that I laminated and write on with wet-erase markers so I can wipe them off and reuse them. I love these cards and use them for a variety of different things that actually have nothing to do with scrapbooking.
WHAT YOU SHOULD KNOW BEFORE YOU GO
→ So far, my boards have been staying up on the wall well. I’m in this room every day so I do try to press on the tape a bit now and then just to make sure the adhesion is still good. I started with just two pieces of tape on the top bar of the memo board, but added two more pieces of tape to the left and right of the bottom bar, too, for extra strength and stability. I recommend using tape on all corners of your board.
→ The amount of tape you use and the thickness of your tape (mine is fairly thick) will determine how much your grid offsets your wall. The farther off the wall, the larger clothespins you can use on your grid. My grid is pretty tight to the wall, especially near where the tape is. If your clothespins don’t fit, try adding more tape to get your grid a little farther off the wall.
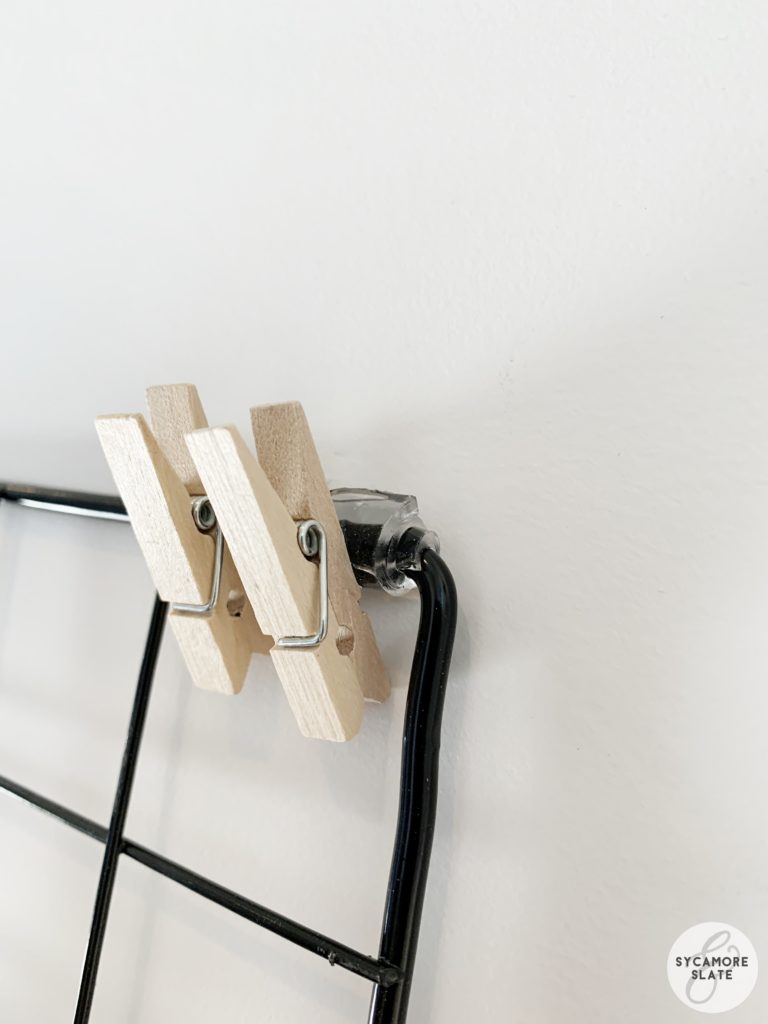
→ These particular grids are not perfectly made. They tend to be a bit wonky-shaped, some more than others. The grid lines are not perfect squares and some of the bars curve a little. I thought this would bother me more than it does. In fact, it actually doesn’t bother me at all. I ended up not even noticing it. Once you fill the memo board, you won’t think about the grid being a bit “off” in some places.
PRODUCT LIST
For the Grid Panels (enough materials to make 23 grids!!):
Pet Playpen Grid Panel Cage
Double-Sided Mounting Tape -OR- Invisible Nail Fastener Hooks
For the memo cards:
Project Life Cards – There are a ton of options out there that change each season. Here are some sets I really like right now:
Fresh Edition
Happy Place Edition
Everyday Edition
Laminator (for laminating project life cards)
Laminating Sheets
Wet-Erase Markers
Mini Clothespins (for hanging up your cards)
I’d love to hear if you make this project and how you use it! Let me know in the comments below!


Leave Your Comments